Overview
Getting started#
Caledee turns your calendar into a shareable booking page — no back-and-forth email needed. This guide walks you from a fresh account to your first confirmed booking in five minutes.
1. Create an account#
Sign up at caledee.com. You can use Google, Microsoft, or an email + password.
2. Connect your calendar#
After signing up you'll land on the Integrations page. Connect at least one calendar so Caledee knows when you're already busy and where to add new bookings.
Supported providers:
- Google Calendar — uses OAuth 2.0; no service account needed.
- Microsoft 365 / Outlook — uses OAuth 2.0 via Entra ID.
- Zoom — adds a unique Zoom link to every booking automatically.
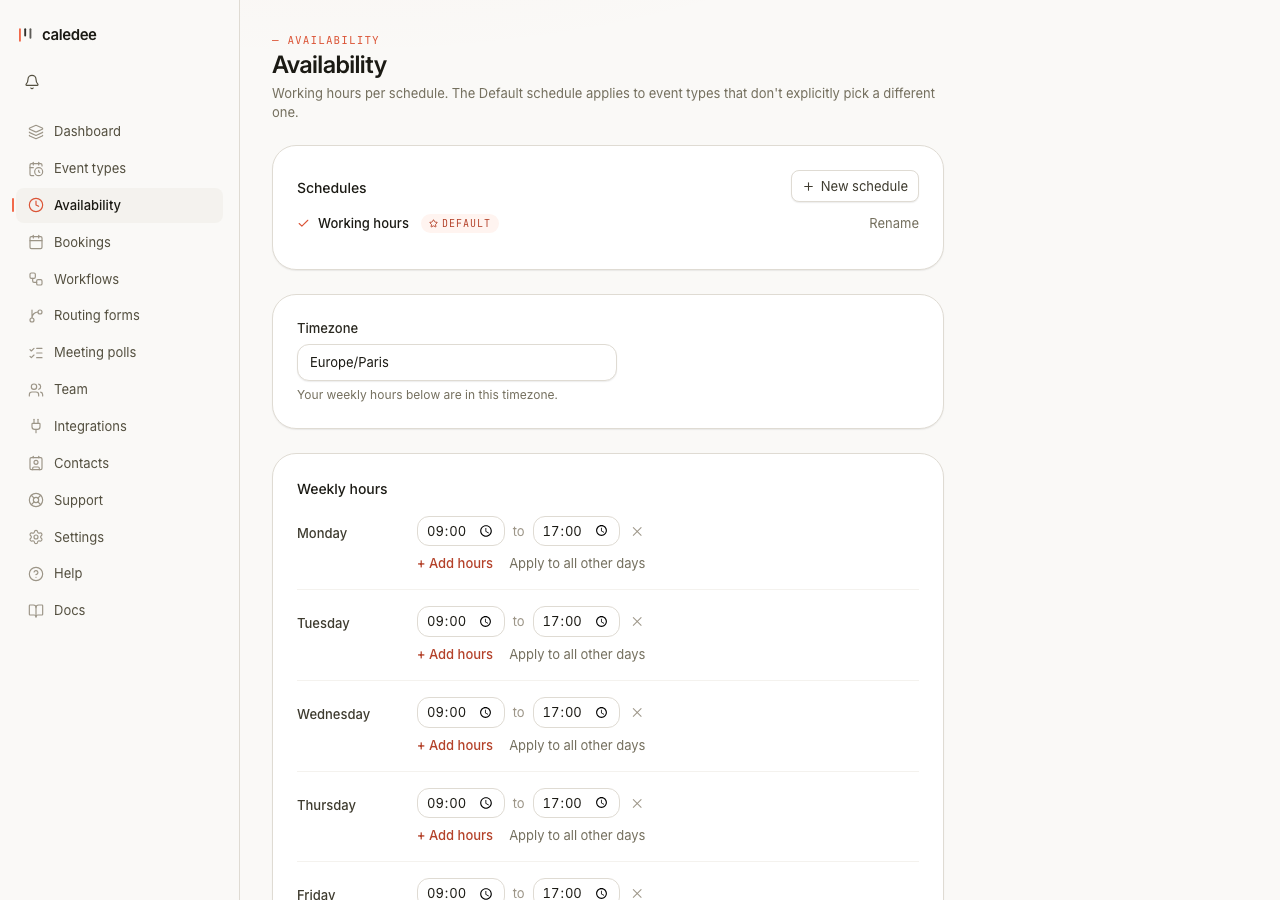
3. Set your availability#
Go to Settings → Availability and define your working hours. You can set different hours per day of the week, add buffer time between bookings, and block off days you don't want to accept meetings.
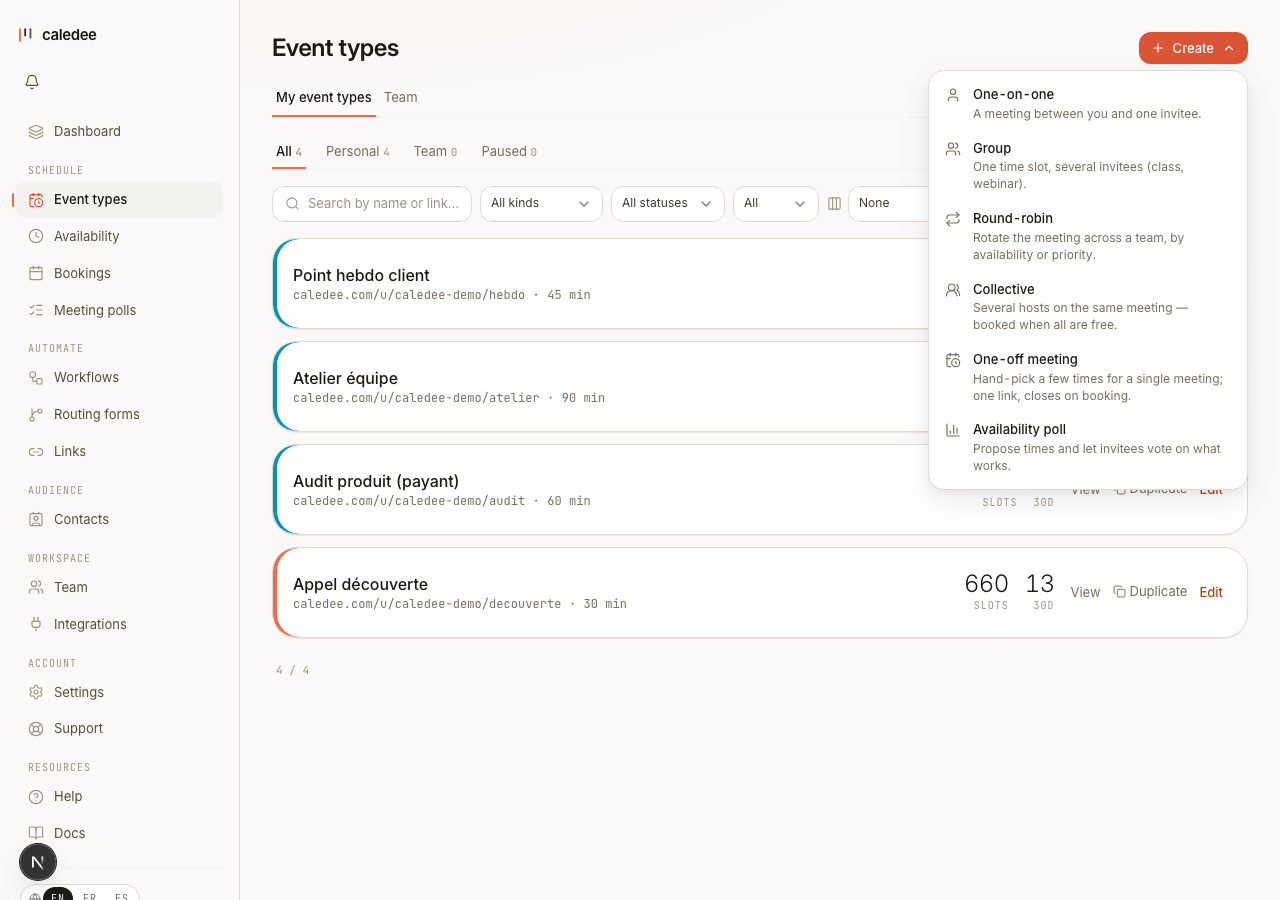
4. Create an event type#
An event type is a bookable link — for example "30-minute intro call" at /u/yourname/intro.
From the Event types page, click + Create and pick a meeting type — a one-on-one, a group event, round-robin or collective for teams, a one-off meeting, or an availability poll. Each choice opens the right editor.
For a standard one-on-one, fill in:
| Field | Description |
|---|---|
| Name | What invitees see on the booking page |
| Duration | One or more durations the invitee can choose |
| Location | Google Meet, Zoom, in-person, phone, or custom |
| Slug | The URL segment (/u/yourname/{slug}) |
Click Save. Your event type is now live at caledee.com/u/{yourhandle}/{slug}.
Need to schedule just one meeting without leaving a permanent link behind? Choose One-off meeting from the same menu to hand-pick a few times and share a single link that closes on the first booking — see one-off meetings.
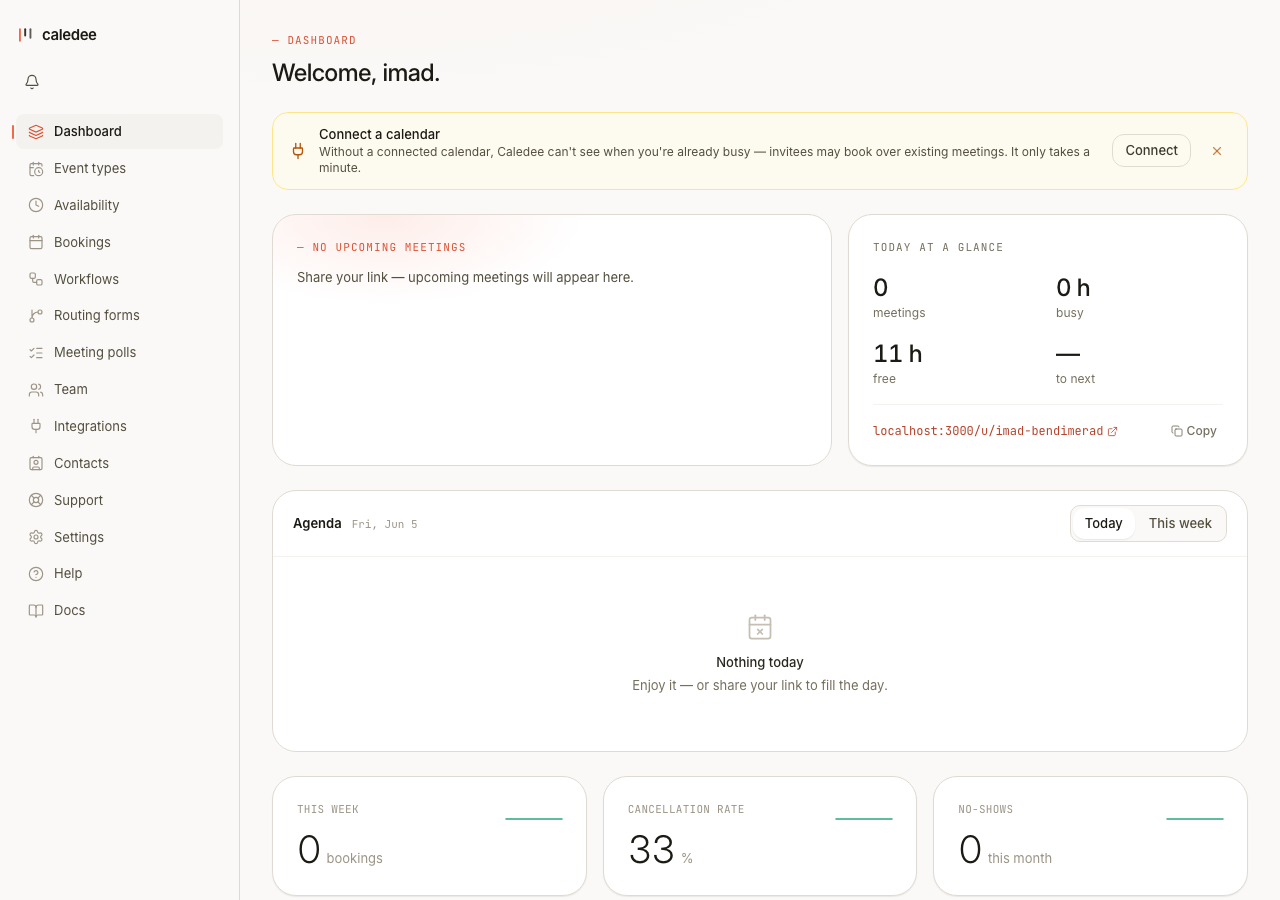
5. Share your link#
Copy your booking link from the dashboard or the event types list and share it:
- Paste it in an email signature
- Add it to your LinkedIn profile
- Embed it on your website
What's next?#
- Embed Caledee on your site — drop the booking widget anywhere without a build step.
- Public API — integrate bookings into your own product.
- Webhooks — react to booking events in your backend.
- Routing forms — qualify leads before they can book.